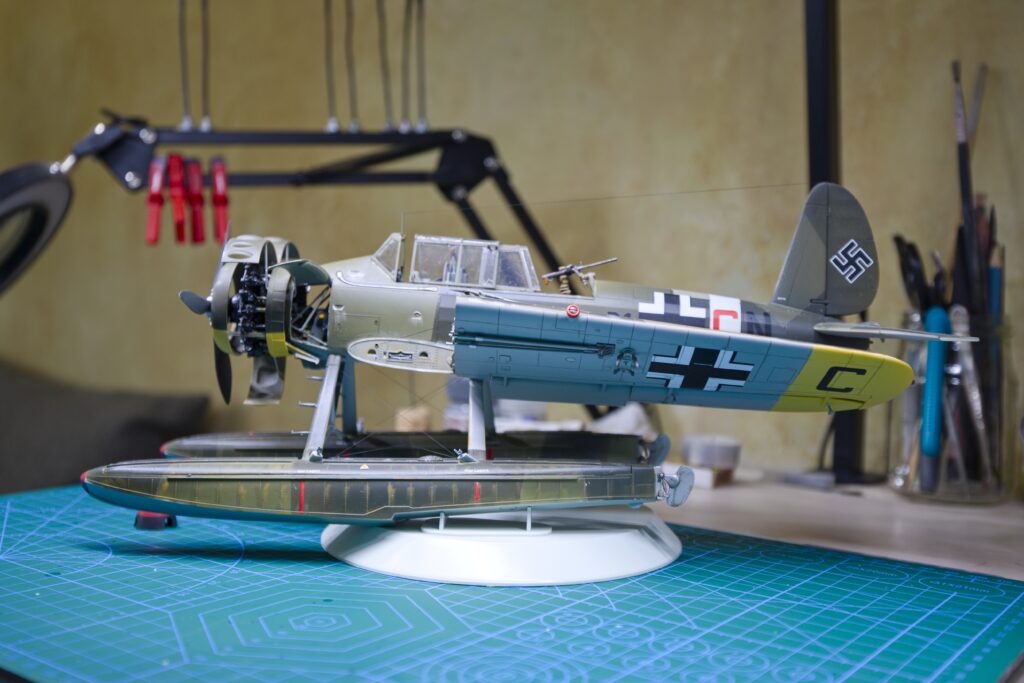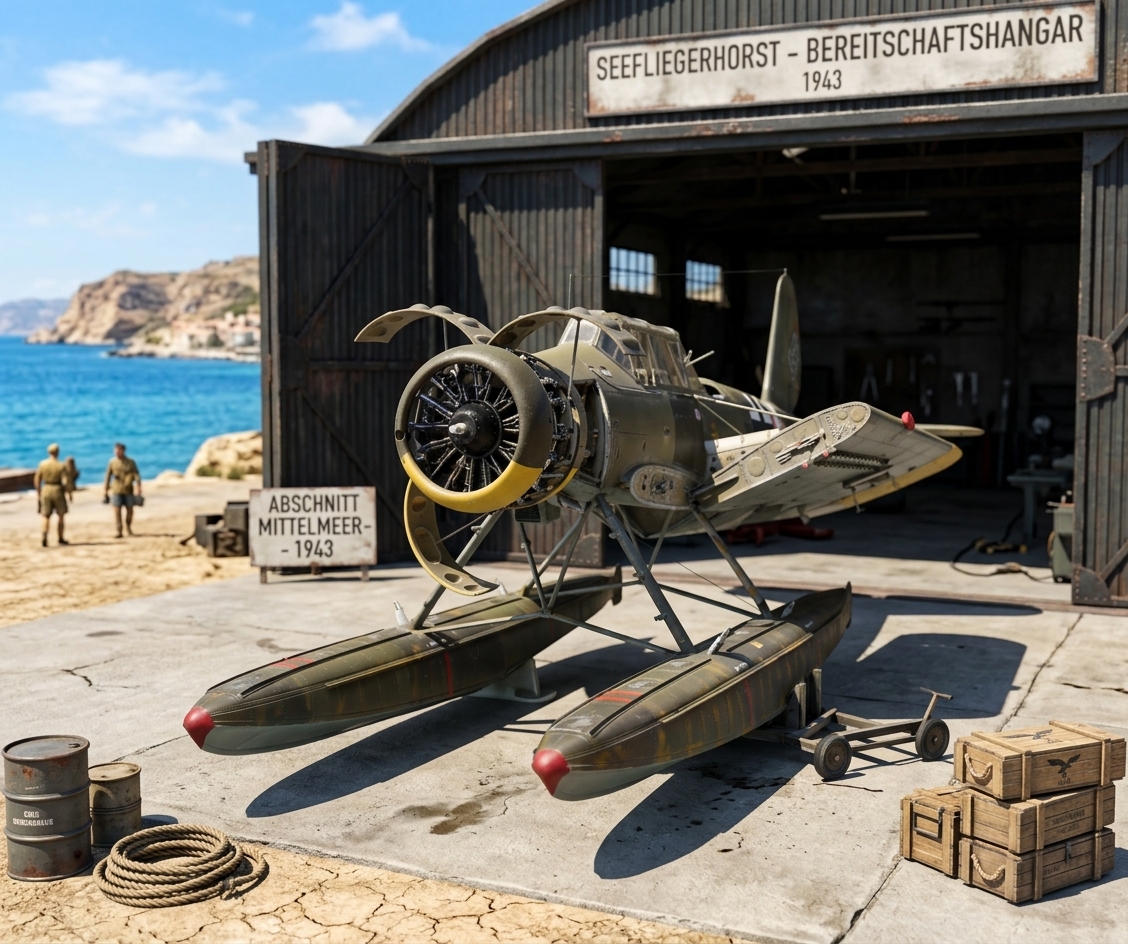
It is August 14th, and more than two months after my first cut into the plastic, I can proudly say that the 1/32 Revell Arado is 99% done. It was actually a very relaxing and clean build where everything fit together well. Well, except for those specific moments when I seriously thought about giving up on plastic models and collecting stamps instead. Let’s sum up this seaplane purgatory step by step.
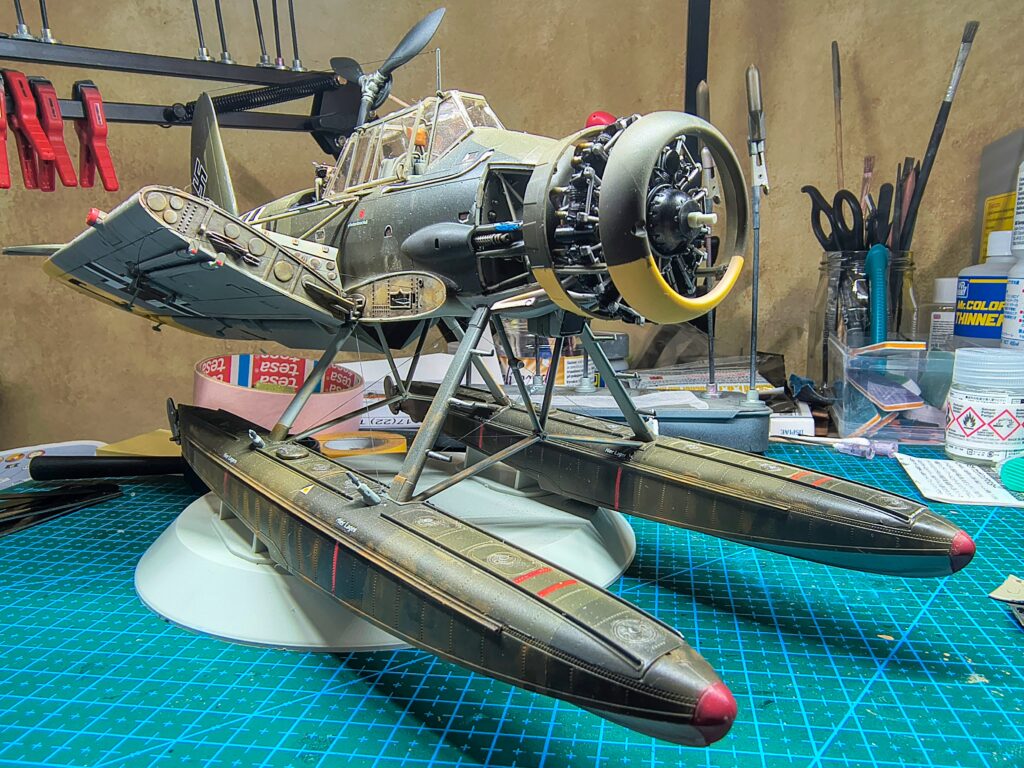
Phase 1: Wooden decals and phantom steps Applying the decals was supposed to be a reward. Instead, I found out that the manufacturer’s decal sheet was probably made of oak wood. Decal softeners were flowing like a river, and finding white text on snow-white paper became the ultimate eyesight test. The absolute peak was the step edge decals – 1.5 x 3 millimeters large and thick as a hair. After the third microscopic piece perfectly and invisibly blended into the surface of my tweezers, my good old brush and paint took over. I put Techmod swastikas on the tail, and after carefully playing with gloss and semi-gloss varnish, they thankfully worked great.
Phase 2: Glass hell Putting the canopy together meant looking into the mind of a crazy engineer. Cutting the main glass into nine parts plus tiny handles is a perfect example of overengineering. You face a scary choice: use strong glue and risk fogging the glass forever, or use craft glue and pray the whole thing doesn’t fall apart and ruin the paint when you take off the masks. I tweaked the geometry and put the whole thing together maybe ten times before it finally clicked.
Phase 3: The Russian Lada syndrome and invisible threads Rigging. Modern elastic thread for 1/32 scale is beautifully realistic, but practically invisible to the eye and impossible to grab with tweezers. I felt exactly like in that joke about the Russian Lada car – you close one door and the other opens by itself. Here, I stretched one wire with all my strength, and the next one suddenly got loose. I felt nostalgic for my youth when a thick piece of stretched sprue over a candle was enough. But I have to admit, when you get it right, it looks great!
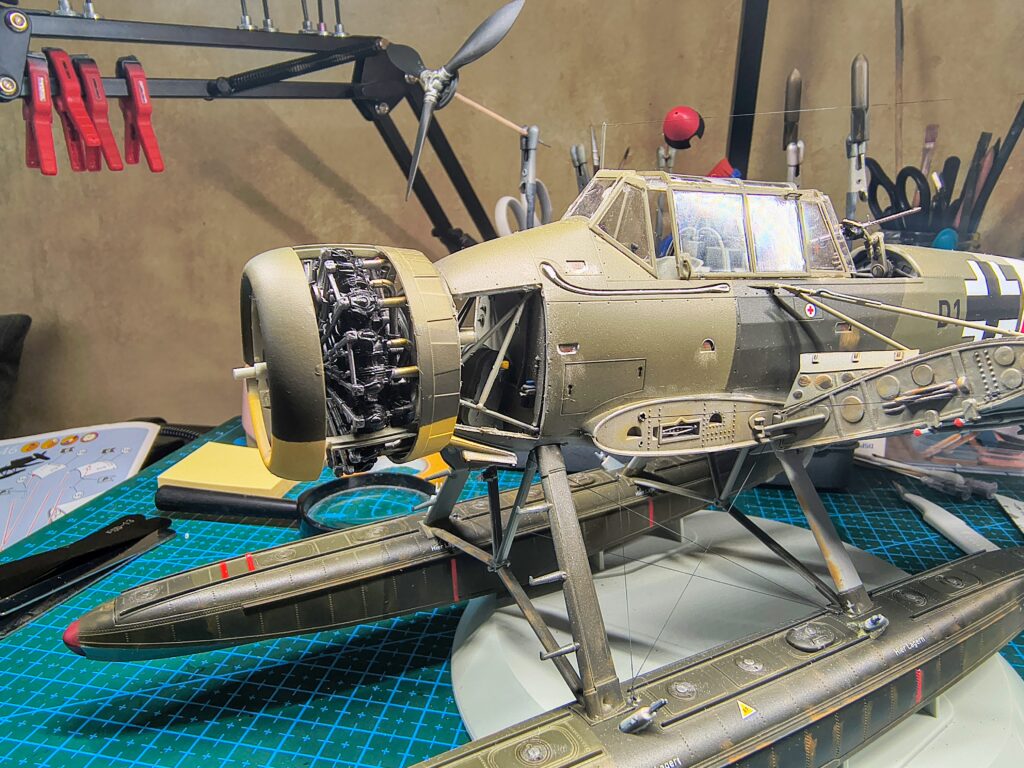
Phase 4: Engine in the naughty corner Right now, you can find dirt marks, local rust, and bare metal scratches on the plane. But what you won’t find is the engine. First, I ran out of light green camo paint for two cover panels. And when the supplies finally arrived from the e-shop, I managed to peel off the paint on the front engine cowling while removing the masks. So the whole assembly is currently put aside, waiting for the repair paint to dry, pretending it’s not its problem…
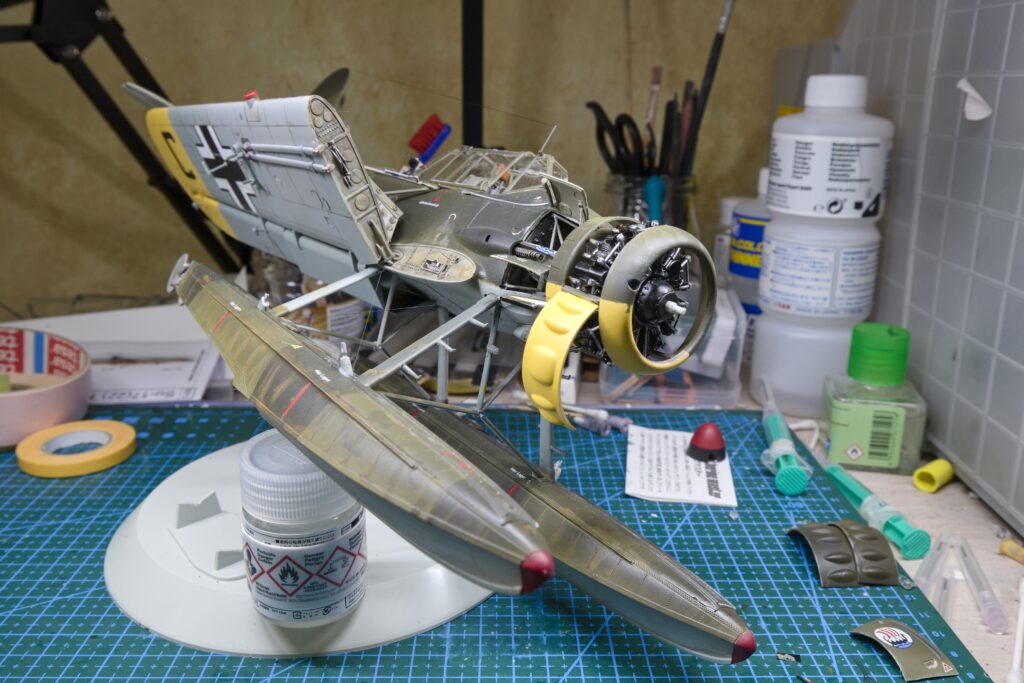
And it finally came: the very end! That belonged to the BMW 9-cylinder. The engine itself fit perfectly into its place after the repairs, but the final nerve test was attaching the open engine cowlings. I had one last tough fight with them on my desk before the whole assembly finally caught the right angles and I could call the build finished. Coming back to this hobby was simply a great move, and this build definitely proved it to me.
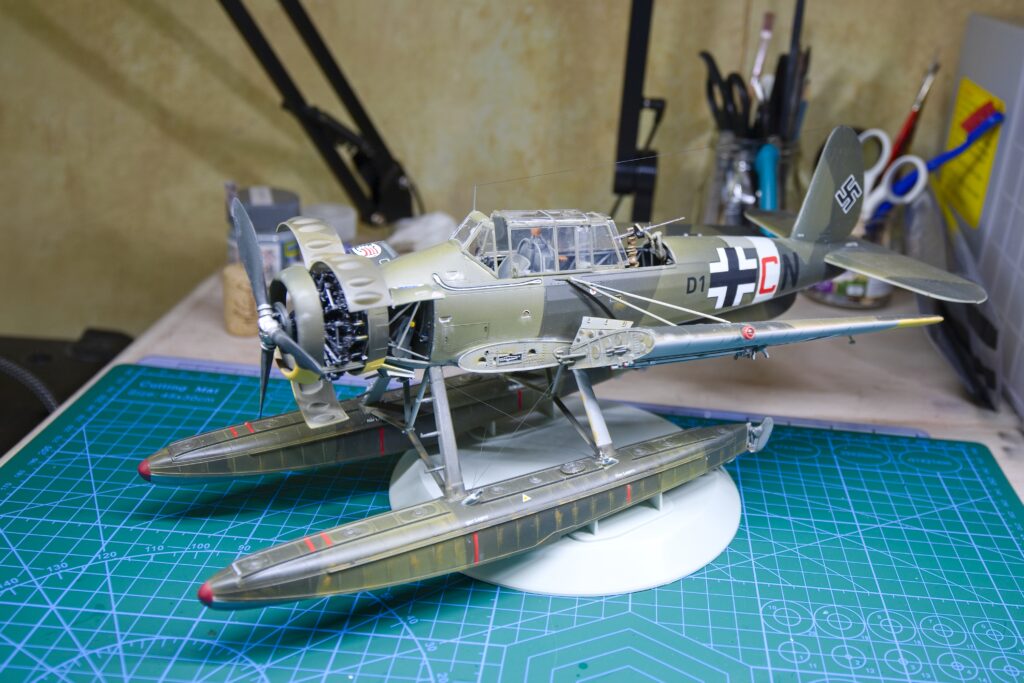
The result? It was worth every lost nerve. The Arado looks pretty nice for an amateur and a beginner, and it won’t look bad in the display case. Now I just need to attach that damn engine and it’s completely done.